

How to Build an IRL Streaming Rig: A Physical Setup Guide
An IRL streaming rig works best when every part has one clear job. The phone or camera captures the scene, the support keeps that device stable, mounting points hold accessories where they remain usable, and quick-release connections make the setup easier to reconfigure.
The physical rig does not create a cellular connection, route audio, or configure a streaming app. Its purpose is to keep the equipment organized, balanced, accessible, and ready to move between handheld, tabletop, and stationary production.
Quick answer: how do you build an IRL streaming rig?
- Choose the primary recording or streaming device first.
- Select a handheld, telescopic, tabletop, or desk-mounted support for the way you actually work.
- Use a phone mount or camera interface that fits the device and its case.
- Add only the mounting points needed for lights, microphones, monitors, power, or a second device.
- Keep cables clear of grips, joints, controls, ventilation, and moving parts.
- Balance and test the complete rig before using it around people or valuable equipment.
- Separate the physical build from the electronic workflow: confirm the app, network, audio, power, and device compatibility independently.
Creators who want to compare current support options can start with Geekoto's IRL Rigs & Attachments collection.

What is an IRL streaming rig?
An IRL rig is the physical framework that holds the devices used for mobile or on-location production. Depending on the workflow, it may carry a phone, camera, microphone, compact light, power source, monitor, receiver, or other accessory.
The best rig is not necessarily the one with the most attachments. A successful build keeps the primary device secure, puts essential controls within reach, and remains comfortable enough to operate for the expected session. Every added component changes the weight, balance, clearance, and cable path.
Start with the way the rig will be used
Handheld and walking setups
A handheld build should prioritize a comfortable grip, balanced weight, and an unobstructed view of the primary screen. Keep accessories close to the center of the rig when practical. Heavy or widely offset components can make a compact setup tiring and harder to control.
The Geekoto DP100 and Geekoto DP43 are the portable rig systems in the current collection. Compare their included components and physical form with the exact devices and accessories you intend to carry.
Tabletop and stationary setups
For interviews, product demonstrations, mobile check-ins, livestreams, or behind-the-scenes coverage from a fixed position, a tabletop support may be simpler than holding the rig for the entire session.
Current compact options include the MiniStand, Lolly Pop, Lolly Pop PRO, and DP43 Standalone. The correct choice depends on the mounting interface, working height, surface, balance, and total attached setup.
Desk-mounted creator setups
A desk-mounted arm can keep a camera, light, microphone, or small monitor off the work surface while allowing its position to be adjusted. The Geekoto Helix Arm is the desk-mounted articulating option in this collection. Verify the desk, clamp location, attachment interface, complete load, and movement path before installation.
Camera-and-phone workflows
A creator may want the camera recording the finished image while a phone captures vertical social footage, behind-the-scenes coverage, or a wider view. The Geekoto Mag Safe L-Bracket combines an Arca-Swiss-compatible camera L-bracket with integrated magnetic smartphone mounting for that physical workflow.
Confirm the camera, support, phone, case, magnetic connection, and complete assembled setup separately. The bracket positions the devices; it does not create electronic monitoring, synchronization, or livestream compatibility.
Build the rig from the center outward
1. Choose the primary device
Decide which phone or camera is responsible for the most important image. Build around that device first. Confirm that its lens, screen, buttons, ports, card door, battery door, ventilation, and orientation changes remain accessible.
2. Select the base support
Choose the support according to the real operating position: handheld, extended, tabletop, clamped to a desk, or mounted on another compatible support. Do not select a base only because it can hold many accessories. Stability, comfort, footprint, and deployment time matter just as much.
3. Add the phone or camera mount
A phone holder should fit the device and case without covering important controls or lenses. The compact PM-01A is a dedicated aluminum phone mount. Geekoto's separate Aluminum Phone Mount adds cold-shoe mounting positions for compatible accessories.
Magnetic phone supports can make placement fast, but compatibility varies among phones, cases, rings, and mounting systems. Inspect the complete connection before every mobile session.
4. Create only the mounting points you need
The Geekoto CUBE is a compact aluminum connector with multiple 1/4-inch-20 threaded mounting points and cold-shoe compatibility. A connector like this can give compatible lights, microphones, monitors, receivers, or phone accessories a defined position without forcing every component onto the primary device.
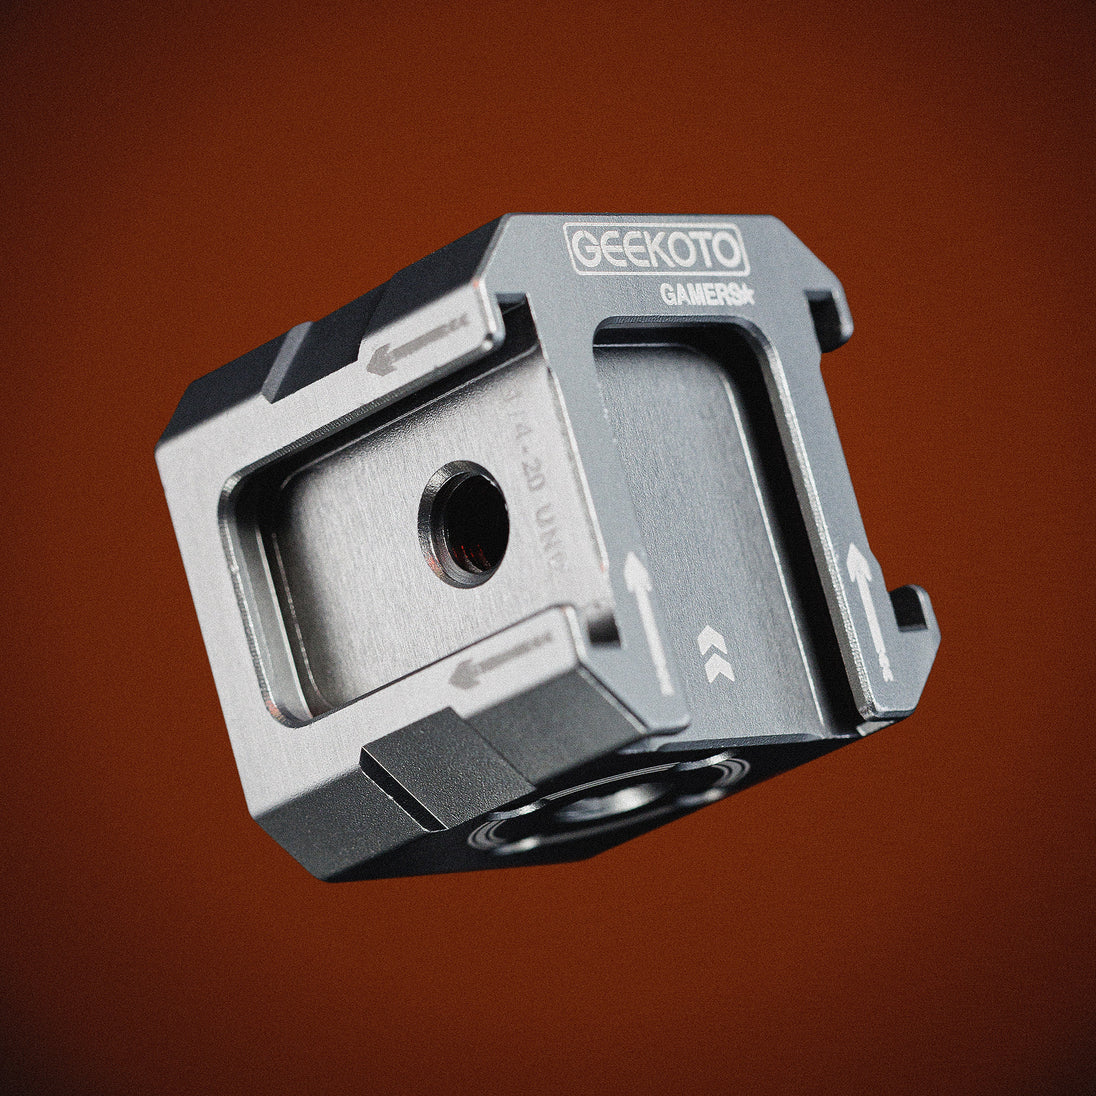
Add mounting points deliberately. Empty connection points do not need to be filled, and accessories should never block the main lens, screen, microphone pickup, controls, or the operator's grip.
5. Decide where quick release helps
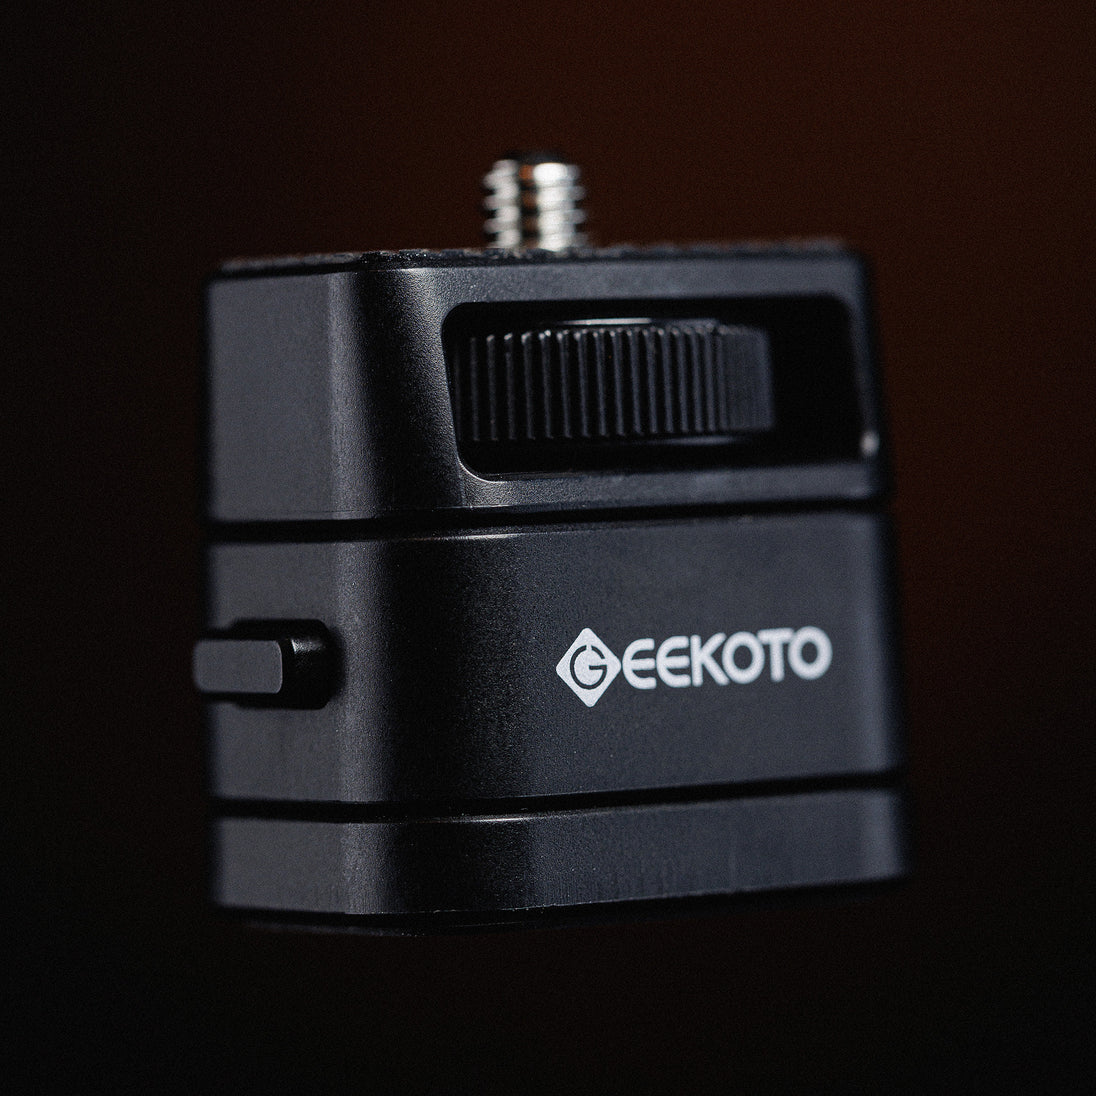
A quick release is useful when one component must move between compatible handheld, tabletop, or stationary configurations. The Geekoto Magnetic Quick Release is designed for compatible Geekoto IRL and creator-rig components.
Use quick release to simplify a known transition, not as a substitute for checking the connection. Confirm the hardware above and below it, then test the assembled setup before relying on it in motion.
6. Position microphones, lights, and monitors
Place accessories according to function. A microphone needs a clear pickup position and protection from handling noise. A compact light needs an angle that improves the subject without shining into the lens. A monitor must remain visible without making the rig top-heavy or blocking the primary display.
Move one accessory at a time and check the result. When several components shift together, it becomes difficult to identify what created a balance, clearance, reflection, or audio problem.
7. Plan power and cable paths
Decide where power, audio, and data cables enter and leave each device. Use enough slack for intended movement, but avoid loops that can catch on a hand, bag, stand, door, chair, or nearby person.
Keep cables away from joints, clamps, controls, cooling vents, and the camera frame. If a connector carries side pressure when the rig moves, change the cable route or support the cable before the next session.
IRL rig starting points by workflow
| Workflow | Physical starting point | Check before use |
|---|---|---|
| Walking or mobile streaming | Portable DP100 or DP43 rig system | Grip comfort, balance, screen visibility, cable clearance |
| Tabletop livestream or product demo | MiniStand, Lolly Pop, Lolly Pop PRO, or DP43 Standalone | Surface stability, footprint, mounting interface, total setup |
| Camera plus phone BTS capture | Mag Safe L-Bracket | Camera support, phone and case connection, lens and control clearance |
| Desk creator station | Helix Arm with compatible attachment | Desk and clamp, movement path, connected load, nearby cables |
| Modular accessory expansion | CUBE and compatible mounts | Thread and shoe compatibility, accessory position, balance |
| Faster configuration changes | Magnetic Quick Release | Interfaces above and below, full attachment, controlled test |
A safe assembly sequence
- Place the base support on a stable surface or hold it in the intended operating position.
- Attach the primary phone or camera and verify the main connection.
- Frame the primary device before adding accessories.
- Add the first essential accessory and check balance, controls, and clearance.
- Repeat one component at a time.
- Route cables with the rig in its normal operating position.
- Move every joint, handle, head, arm, or telescoping section through the expected range.
- Record a short test while standing still.
- Test intended movement in a controlled, open area.
- Review the test for framing, handling noise, connection movement, heat, and interruptions.
How to keep a mobile rig balanced
Keep heavier components close to the main support axis when practical. Accessories positioned far to one side create leverage and can make a rig feel heavier than its total weight suggests.
If the operator must twist the wrist to keep the main frame level, simplify the build or reposition the offset components. A balanced, lighter rig that captures reliable footage is usually more useful than a larger build that becomes difficult to hold.
Test the entire workflow before going live
A physical test should reproduce the real environment as closely as practical. Wear the same bag or clothing, connect the same cables, install the same phone case, and attach the same accessories planned for the session.
- Check every attachment by hand.
- Confirm that the primary image remains level and unobstructed.
- Verify that screens and controls are readable.
- Listen for cable contact and handling noise.
- Watch for heat, battery drain, and blocked ventilation.
- Confirm that no component changes position during normal movement.
- Prepare a simpler fallback configuration.
Common IRL rig mistakes
Adding every accessory at once
Each component should solve a specific problem. Remove anything that does not improve capture, audio, monitoring, lighting, power, or operation.
Ignoring the phone case
A mount that works with an uncovered phone may behave differently with a thick, smooth, magnetic, or unusually shaped case. Test the exact combination.
Blocking controls or ventilation
A secure mount can still be poorly positioned. Check the lens, screen, buttons, doors, ports, vents, and device rotation after assembly.
Treating physical support as electronic compatibility
A mount can position a phone, camera, microphone, or monitor without making those devices communicate. Verify streaming software, network connectivity, audio routing, adapters, and power separately.
Skipping the fallback build
Know which accessories can be removed quickly while preserving the primary device and audio path. A simpler backup configuration can keep a production moving when the full rig is unnecessary or cannot be used.
IRL streaming rig checklist
- Primary device and role selected
- Base support matched to handheld, tabletop, or desk use
- Phone or camera connection verified
- Accessory mounts and interfaces confirmed
- Weight and balance checked in the operating position
- Lens, screen, controls, doors, ports, and vents clear
- Power, audio, and data cables routed safely
- Expected movement tested
- Short recording reviewed
- Streaming app, audio route, network, and power tested separately
- Simpler fallback configuration prepared
Frequently asked questions
What equipment is needed for an IRL streaming rig?
The physical rig normally starts with a phone or camera, a base support, and a compatible device mount. Add microphones, lights, monitors, power, connectors, or quick releases only when they serve a defined role.
Should an IRL rig be handheld or mounted?
Choose handheld support for mobile coverage and a tabletop, telescopic, or desk-mounted support for longer stationary segments. Some workflows benefit from a system that can transition between positions.
Can I attach multiple phones to one rig?
Possibly, when the rig provides compatible mounting positions and the complete setup remains secure and balanced. Give each phone a clear purpose and verify all connections before use.
What does a quick release do on a creator rig?
It can make it faster to move a compatible component between configurations. It does not remove the need to verify the attachment and test the finished setup.
Does an IRL rig improve cellular reception?
Not by itself. The rig organizes and supports physical equipment. Connectivity depends on the phones, modems, antennas, carrier service, location, software, and network workflow being used.
How heavy should an IRL rig be?
There is no universal target. Use the lightest configuration that supports the required devices and remains comfortable, stable, and controllable for the expected session.
Final takeaway
Build an IRL rig from the primary device outward. Choose the support for the way you will actually work, add only necessary mounting points, protect access to controls and ventilation, and test the complete configuration before going live.
Explore Geekoto's IRL Rigs & Attachments, Content Creator gear, and Mounts & Accessories to compare physical support options for mobile, tabletop, desk, and camera-plus-phone workflows.

